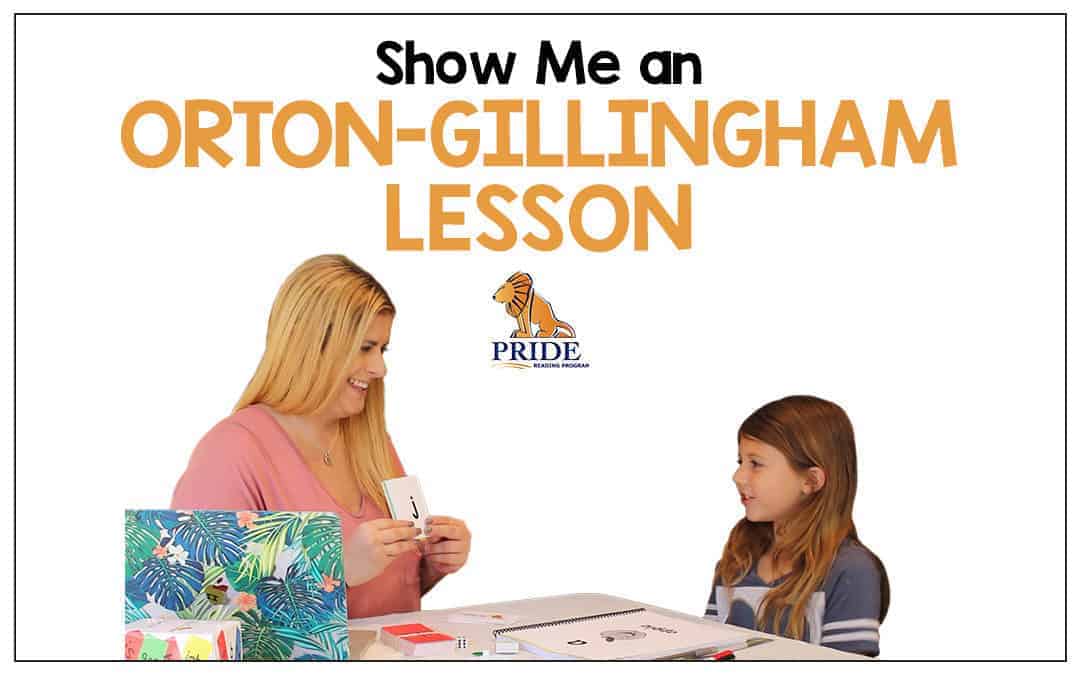
What Does The Orton-Gillingham Lesson Look Like?
If you have been researching reading programs for struggling readers, you might have come across the Orton-Gillingham method a few times. This is by far the most effective reading approach for students that need to learn differently. Whether you’re a parent or educator, undergoing Orton Gillingham training can help you fully understand and implement this structured literacy method with fidelity. This method might seem complicated – but it isn’t. Here is a step-by-step explanation (with a video) on what an Orton-Gillingham lesson looks like.
Step 1: Review with Sound Cards
Using Phonogram Cards or Sound Cards the student is drilled with skills they have already learned. Phonogram Drill Cards are usually separated by color. For example the vowels might be green, the consonants might be white, the suffixes might be blue, etc.
Students are required to review these Sound Card at the beginning of each lesson, before a new concept is taught. Reviewing them over and over again, week after week, month after month helps the students remember them over time.

Step 2: Introduce a New Skill
When the student is ready to learn a new skill, there are several ways this is introduced in an Orton-Gillingham lesson.
1. The new concept (sound, syllable type, or spelling pattern) will be taught explicitly by the teacher.
2. The teacher will use multisensory teaching methods to help the concept “stick.” This means the student will see it (visual), hear it (auditory), and move with it (kinesthetic). Students are asked to trace, skywrite, use arm tapping, write on their palms and paper, build words with letter tiles, write on textured material, and use other multisensory activities to help reinforce the new concept.
3. The teacher will use a Keyword or Picture to introduce the new concept. These pictures help the student remember a particular letter or sound relationship with a visual.

Step 3: The Blending Drill in the Orton-Gillingham Lesson
The Blending Drill in the Orton-Gillingham lesson is an activity that encourages students to practice reading nonsense words. Nonsense words force the students to use decoding and not memorization skills. The phonogram cards are separated into three piles on a table top. The vowels are put in the middle of the pile.
The student points to each phonogram card from left to right and blends the sounds into a nonsense word. The teacher keeps flipping the cards from the different columns to make different combinations.

Step 4: Red Words in the Orton-Gillingham Lesson
Red Words or Sight Words are those words that cannot be sounded out phonetically and do not follow any particular phonemic rule. Using multisensory strategies, the student can learn the Red Words by arm tapping, finger sliding, finger tracing and other multisensory activities.

Step 5: Reading Words, Sentences, and Text
In each Orton-Gillingham lesson, students are asked to read words, sentences, or a decodable text using the concept that they are learning.
Words:
Students are asked to underline, link, divide, and box letters and letter combinations, suffixes and prefixes.
Students will identify vowel sounds and letters and other concepts when reading and learning new words.

Sentences:
Students are asked to read sentences utilizing their newly learned concept.
They might read these silently to themselves and then again aloud with the teacher.
Comprehension questions are also often used in this step.
Decodable Stories:
The reading passages in Orton-Gillingham lessons are always decodable and only contain sounds and concepts that the student has already learned.
Semantics and vocabulary development are a continual process throughout the entire reading of the passage.
Students are also asked to visualize, use prior knowledge, use context clues, and other reading comprehension strategies.
Step 6: Writing
Students are asked to write sounds, words, and sentences that are dictated by the teacher in each Orton-Gillingham lesson.
It typically begins with the teacher dictating a word and the student will repeat the word. The student then uses either finger tapping, sound segmenting, or palm writing while saying the word aloud.
The student will follow up by writing the words down on a sheet of paper and then asked to read the words back.
Some Additional Activities that are included in an Orton-Gillingham Lesson
Phonological Awareness:
Most Orton-Gillingham lessons will also teach and practice phonological awareness activities throughout the entire program. These will include activities with rhyming, syllable division, and sound segmentation.
Fluency Drills:
Fluency Drills are often used during the Orton-Gillingham lessons to help the students practice mastering their newly learned Orton-Gillingham skills. Students are given a fluency practice drill and with a marker across the first line, they read the words as quickly as they can. They will do this with every line increasing their speed over time.
Games:
Many Orton-Gillingham teachers and tutors like to use games to reinforce the skills that the students are learning. Using a lot of interactive and fun learning games, the Orton-Gillingham lessons can become a bit more colorful and lively for the student.
Do you want to see an Orton-Gillingham Lesson in Action?
(This is just a short segment to give you an idea, it is not the entire lesson.)
Thank you so much for reading my post today! You might also enjoy reading my posts:
How is Orton-Gillingham Evidence-Based Instruction?
The Science of Reading: What All Teachers Should Know
And while you are here…you might want to check out the PRIDE Reading Program, an Orton-Gillingham reading, writing, spelling, and comprehension program that is scripted, affordable, easy-to-use, and used by teachers, parents, and tutors all over the world with great success!
PRIDE Reading Program

")
Karina Richland, M.A., is the author of the PRIDE Reading Program, a multisensory Orton-Gillingham reading, writing and comprehension curriculum that is available worldwide for parents, tutors, teachers, and homeschoolers of struggling readers. Karina has an extensive background in working with students of all ages and various learning modalities. She has spent many years researching learning differences and differentiated teaching practices. You can reach her by email at info@pridereadingprogram.com or visit the website at www.pridereadingprogram.com
Can I as a teacher/ tutor purchase the program to use with my students. If so, what is the cost?
Thank you
Roslyn, you can purchase the program as a teacher/tutor. Here is the Link to the school page: https://pridereadingprogram.com/school-page/
Hello Im in South Africa ,how much can this online teaching cost and will that include materials my child is repeating grd1 is 8yrs old
We’d love to discuss tutoring options with you.! Feel free to give us a call at 1-866-774-3342 ext 7.
Hi! I have a question when students read do they tap out words or trace with their finger and sound out?
It depends on which activity you’re doing and the goal of the activity. Usually, running a finger under the letters as the student blends together the sounds works well for reading at the sentence level. When it comes to learning a new sound, activities like sound squares and sky writing are good activities to work on before having the student read words that include the new sound. Hope this helps!
it is interesting ,do you have tutors in South Africa.
We can do online tutoring anywhere in the world, and can ship our materials worldwide 🙂