Orton-Gillingham is meant to be taught as a 1:1 multisensory approach. Sometimes this just isn’t an option, and you have to teach it in a group setting. So… will it still work and be effective? YES! On today’s post I will explain to you how to teach Orton-Gillingham in groups, and teach it effectively so that every student progresses.
Small Groups are Best
You will want to be careful how many students you place in your group. You want the group to be small. Small means 3-5 students. If the group gets any bigger than that, the progress with this group will be very slow. 2-3 students is ideal, but this is not always feasible. Do the best that you can.
Teach for at Least 30 Minutes
A typical Orton-Gillingham lesson usually takes around 45 minutes to an hour. Most teachers only have time for a 30 minute lesson. If this is the case then this means that you will want to spread out 1 lesson over 2 days. Ideally you will want to teach Orton-Gillingham in groups, 30 minutes 4-5 days a week or 45 minutes 3-4 days a week.
Whatever you decide to do, do not modify the program. It is important to still teach it with fidelity or it will not be effective for the student. The goal is for the student to work through the program step-by-step slowly and carefully and close all reading and spelling gaps.
[et_bloom_inline optin_id=”optin_4″]
Group the Students by Level
Before you begin to teach Orton-Gillingham in groups, you will need to place your students in a level. You will want to give each of your students an initial Orton-Gillingham assessment, and then group them by skill level (not by grade). You might have multiple groups of Level 1 but just one group of Level 2. Each group will move at the same pace together.
I understand that the students in the group have different needs. This is the part that is tricky. Unfortunately, you will need to keep the group moving. If a student has 80% of the concepts mastered, I would move on. Mostly because Orton-Gillingham is so repetitive, that students get to keep practicing older lessons as new ones are introduced.
You can use this Placement Assessment to determine what level is best to start your students(s):
Materials for the Group
Each group will need a set of letter tiles and sound cards. I suggest placing magnets on the letter tiles and having them stick onto a large whiteboard that the entire group can share. The other option is to give each student a set of letter tiles that they can move around in front of them on the desk. Teaching Orton-Gillingham in groups will still require that each student has a chance to feel, touch and move the letters and sounds that they are learning.
Each student in the group will individually need their own workbook to write their sounds, words and sentences in as well as write their dictation and spelling work.
I Have a Resource for You!
Thank you for reading my post today on teaching Orton-Gillingham in groups. You might also enjoy reading my previous posts:
How I Help with b/d Letter Reversals
Show Me an Orton-Gillingham Lesson
The Science of Reading: What All Teachers Should Know
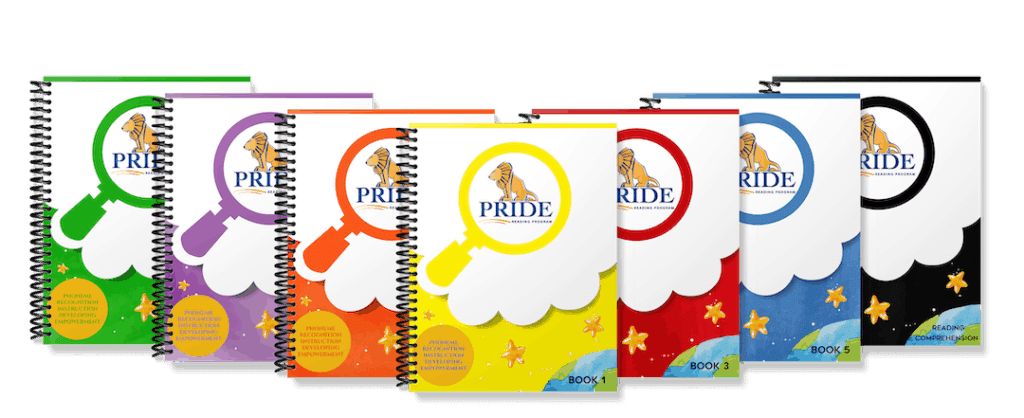
Please don’t leave without checking out the PRIDE Reading Program. The PRIDE Reading Program is an Orton-Gillingham curriculum that is used by teachers, tutors, and homeschooling parents worldwide with great success.