I use letter tiles with every lesson I teach in Orton-Gillingham. I give the kids 10 words to build with their tiles. They say the word, bring down each sound they hear in the word and then blend the sounds together to read the word. By the time the kids are in Level 7 there are SO many letter tiles that it can get a bit overwhelming. On today’s post I am going to give you some tips on how to organize your letter tiles in Orton-Gillingham.
“What are Letter Tiles?”
Letter Tiles in Orton-Gillingham are different colors. In The PRIDE Reading Program, the vowels are green, the consonants and digraphs are white, the spelling rules are yellow and the suffixes are blue. I always group these together on my magnetic board so that the kids visualize these concepts by color.
It is really important to find a system that works for you and stick with it. You want your kids to visualize the tile board as they are spelling words on paper. Keep it organized and keep it consistent.
Letter Tile Preparation
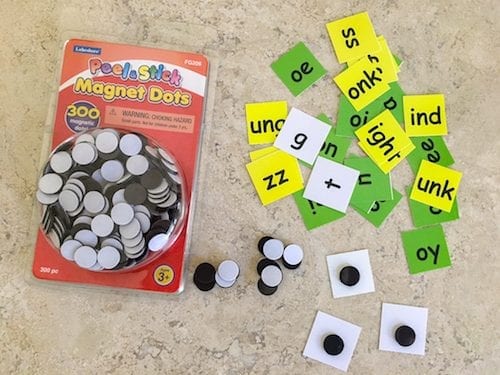
You will first want to put a magnet on the back of each of your letter tiles.
For the beginning levels 1 and 2 you can still just spread them out on a table or desk, but as the levels get higher the amount of tiles are overwhelming so that is when I put the magnets on them.
I like to use a really large magnetic white board. I know a lot of people that also just use cookie sheets. That is fine. You can use whatever you like best.
Letter Tile Placement
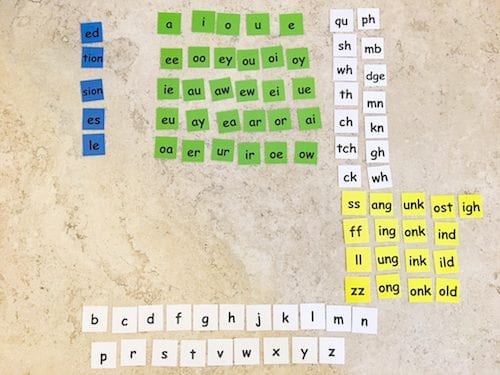
1. White Beginning Consonant Tiles
Place your white beginning consonant tiles at the bottom of your magnetic board in alphabetical order. Don’t put the vowels in there. Just the beginning consonants.
2. White Digraphs and Consonant Team Tiles
Place your white digraphs and consonant team tiles on the right hand side of the board.
3. Green Vowels and Vowel Teams
Place your green vowels and vowel teams at the top of the board. This is the biggest group of letter tiles in Orton-Gillingham. There are so many!
4. Yellow Welded Sounds and Spelling Rules
Place your yellow welded sounds and spelling rules to the right hand side of the board, under the white digraphs and consonant team tiles.
5. Blue Suffixes
Place your blue suffix letter tiles to the left hand side of the board.
Using the Letter Tile Board

In the very middle of the board is where I place the concept that I am teaching. So for example if I am teaching the welded sound unk, I will place that yellow unk tile in the middle of the board and let my student build the words there.
Thank you so much for reading my post today! You might also enjoy reading my previous posts:
How to Teach Letters and Sounds Correctly
Multisyllabic Words – How to Teach Them
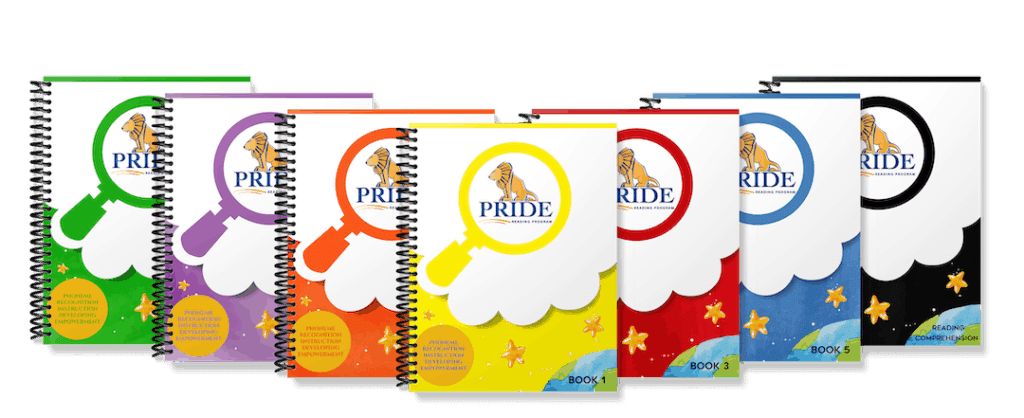
Please don’t leave without checking out the PRIDE Reading Program. The PRIDE Reading Program is an Orton-Gillingham curriculum that is used by teachers, tutors, and homeschooling parents worldwide with great success.